19.2 Starting the Application
Our first step is to examine the "Setup" node:
- ActionExpand the Setup: Start Demo node now.
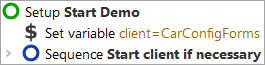
In the "Setup" node you'll see two child Sequence nodes:
- Set variable - set the variable 'client' to the connection name for the SUT, which will be needed for every action replayed to the application.
- Sequence: Start client if necessary - starts the System Under Test (SUT) in case it is not already running.
Let's also have a brief look inside the Sequence: Start client if necessary:
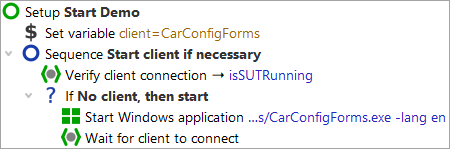
First you see a "Wait for client" node to double-check whether the client is already running. Only if it is not, it will be started.
The Start Windows client node starts the application (SUT) and sets up a link
between qftest and the SUT. In order to be independent of the actual installation we use
a relative path, starting from the QF-Test version directory, contained in the QF-Test
variable ${qftest:dir.version} (see manual chapter Variables).
At this point, we're ready to actually start the SUT:
-
ActionClick on the
 Setup: Start Demo" so it is selected and still expanded (the
child nodes stay visible).
Setup: Start Demo" so it is selected and still expanded (the
child nodes stay visible).
-
Click the
 Start test run
toolbar button. This button causes the selected node to be executed.
Start test run
toolbar button. This button causes the selected node to be executed.
During execution QF-Test marks the active step by use of an arrow pointer ->.
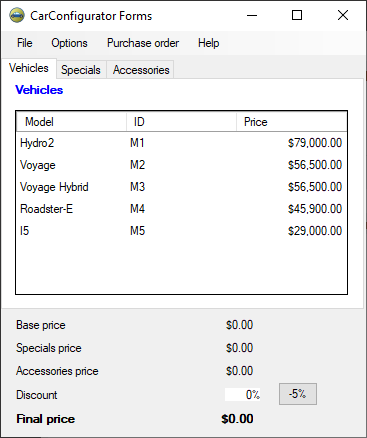
When the setup sequence is completed, our demo application "CarConfiguratorNet Form" is going to appear on the screen. As QF-Test gets back the focus after the replay action, thus being raised to the foreground, the demo application might be hiding behind it.